Hello!
In this series of blog posts, I will be providing detailed information on my adventures on coding a ray tracer in C++. In this first post, I will give a brief information about my coding environment and the implementation details of my core ray tracer.
I am using a laptop which has an Intel® Core™ i7-4700HQ CPU @ 2.40GHz × 8 CPU and running Ubuntu 16.04 to render the scenes.
Sample scene files are provided below:
Implementation Details
The first task before tracing rays is to read the input, obviously. My previous implementation of the ray tracer was using a very basic text file format to get the scene information.
As we will use the .xml format to explain the scenes, I wrote some code to pipe the information read by the .xml scene file parser (tinyxml library) to the primitive parser that my ray tracer already had. By doing so, my ray tracer was now ready to get the scene information from the .xml file type.
To speed up the rendering progress, I have implemented a basic multi-threading capability, which uses 4 threads on 4 distinct scanlines of the image, to get a -nearly- x4 speed-up on the rendering time.
The disadvantage of this method is that even if it speeds up the scenes where the objects are not clustered to one location of the 2D image plane, when they get clustered, for example, to the space of the upper scanline (thread 1’s space), the performance drops as if the rendering is being done on a 1-core CPU, as the others threads quickly finish their task and die.
My future goal is to implement a multi-threading capability in which:
- The thread count will not be a fix number. It will be configurable.
- When a thread finishes its task, it will select another small 2D location from the output image plane and continue rendering until all small 2D locations are rendered (so the output image is rendered.)
The output file, which is a .png file, is filled in with the help of a small-sized, but a giant problem-solver C library called lodepng. I have used its C++ wrapper class to quickly pour the RGB data of the rendered output image into the .png file stated in the scene file.
Performance Results
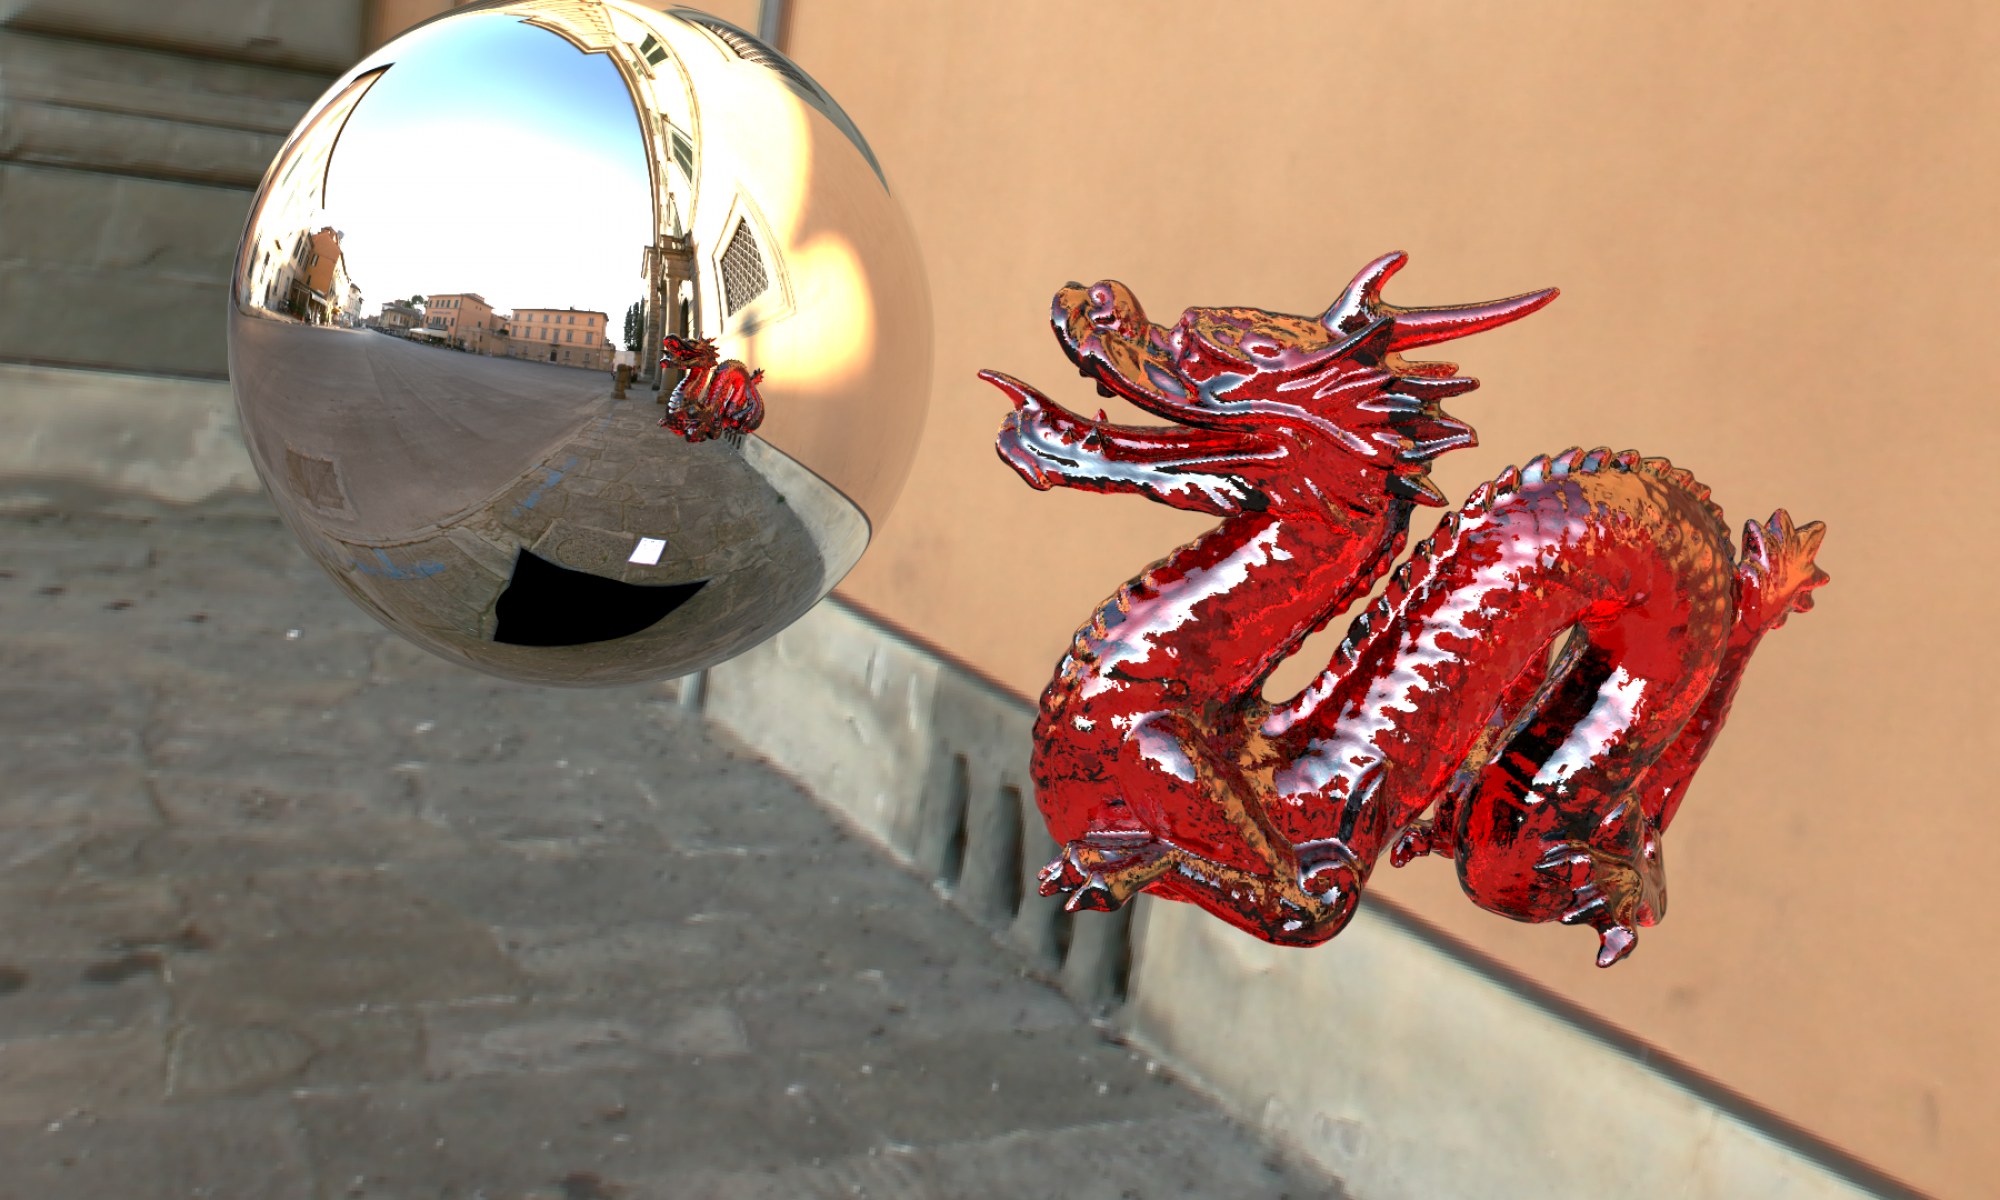
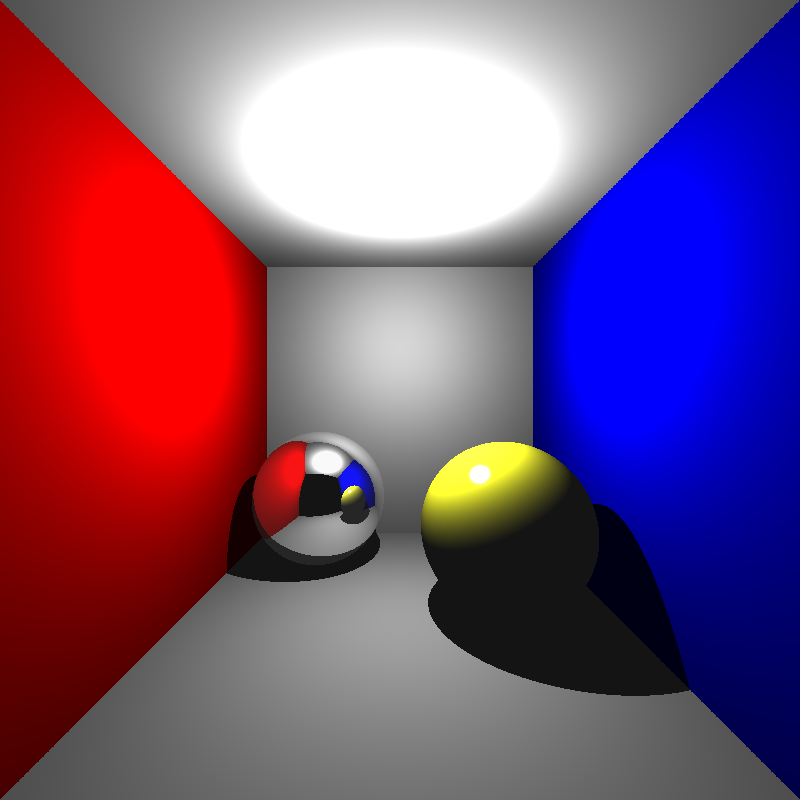
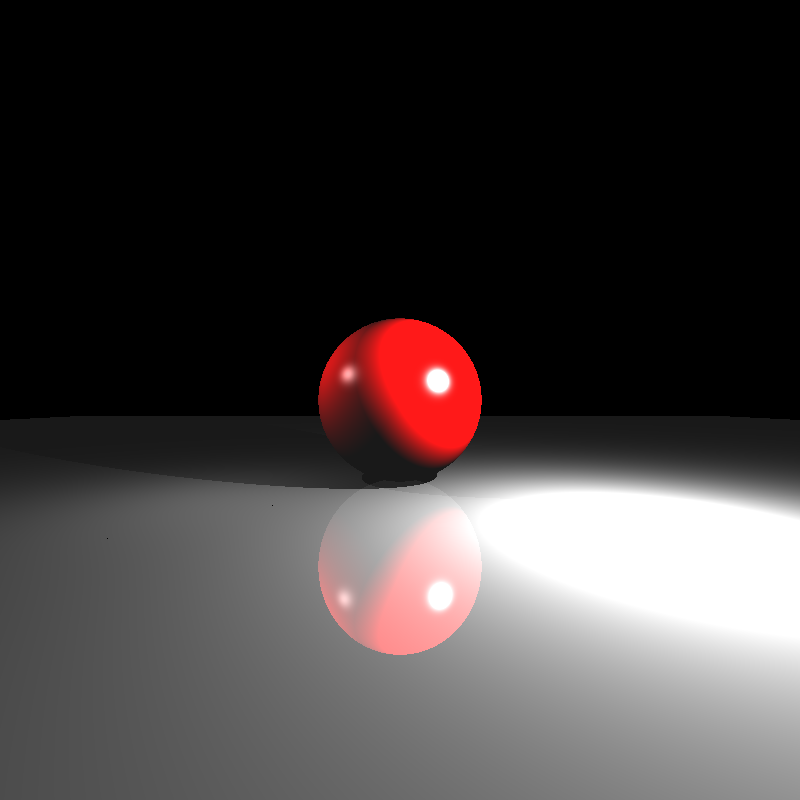
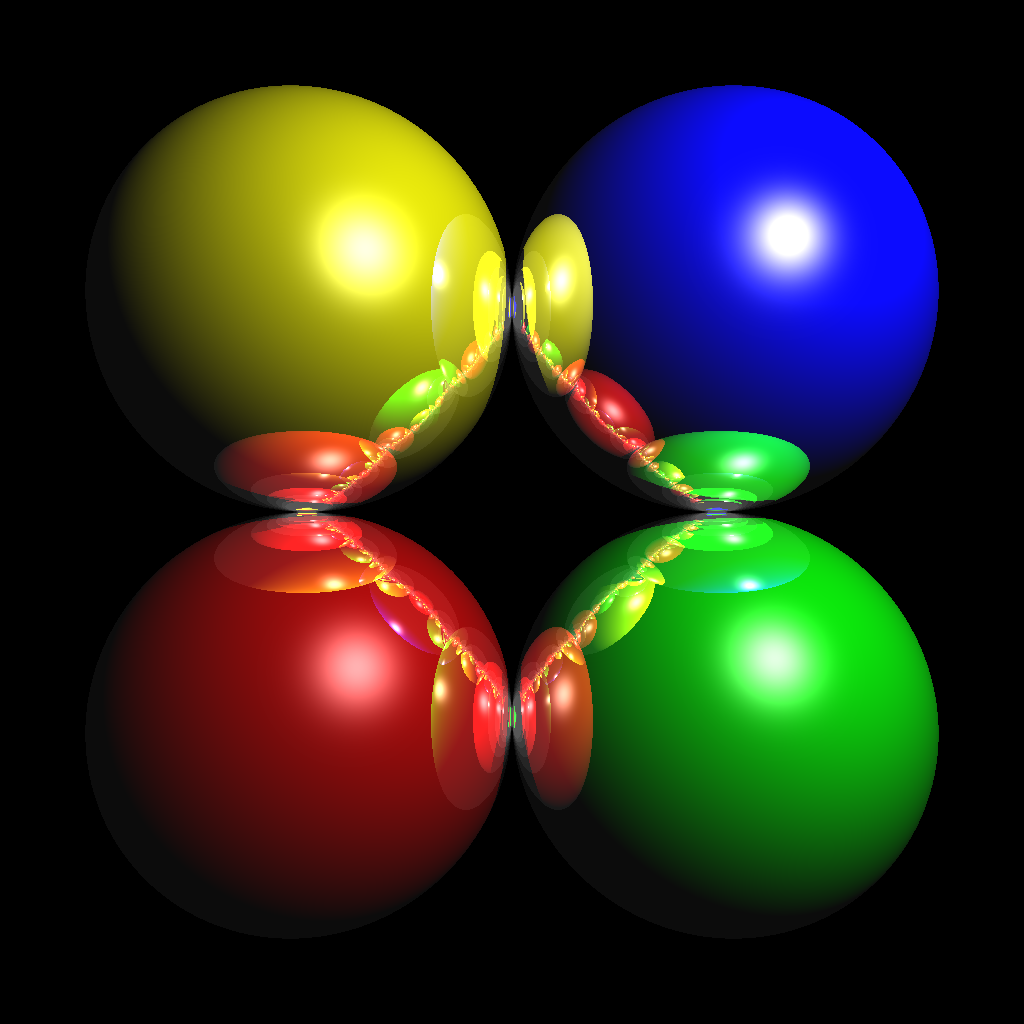
Below are some sample output images that are rendered by the current version of my ray tracer, and their rendering times (calculated by the time utility):
bunny.xml
(512x512)
9.706 seconds (/w 4 threads)
cornellbox.xml
(800x800)
0.194 seconds (/w 4 threads)
scienceTree.xml
(1080x1080)
38.150 seconds (/w 4 threads)
simple_reflectance.xml
(800x800)
0.139 seconds (/w 4 threads)
mirror_spheres.xml
(1024x1024)
0.301 seconds (/w 4 threads)
See you in the next posts!


Great !
Thank you so much!