Hello trace-masters!
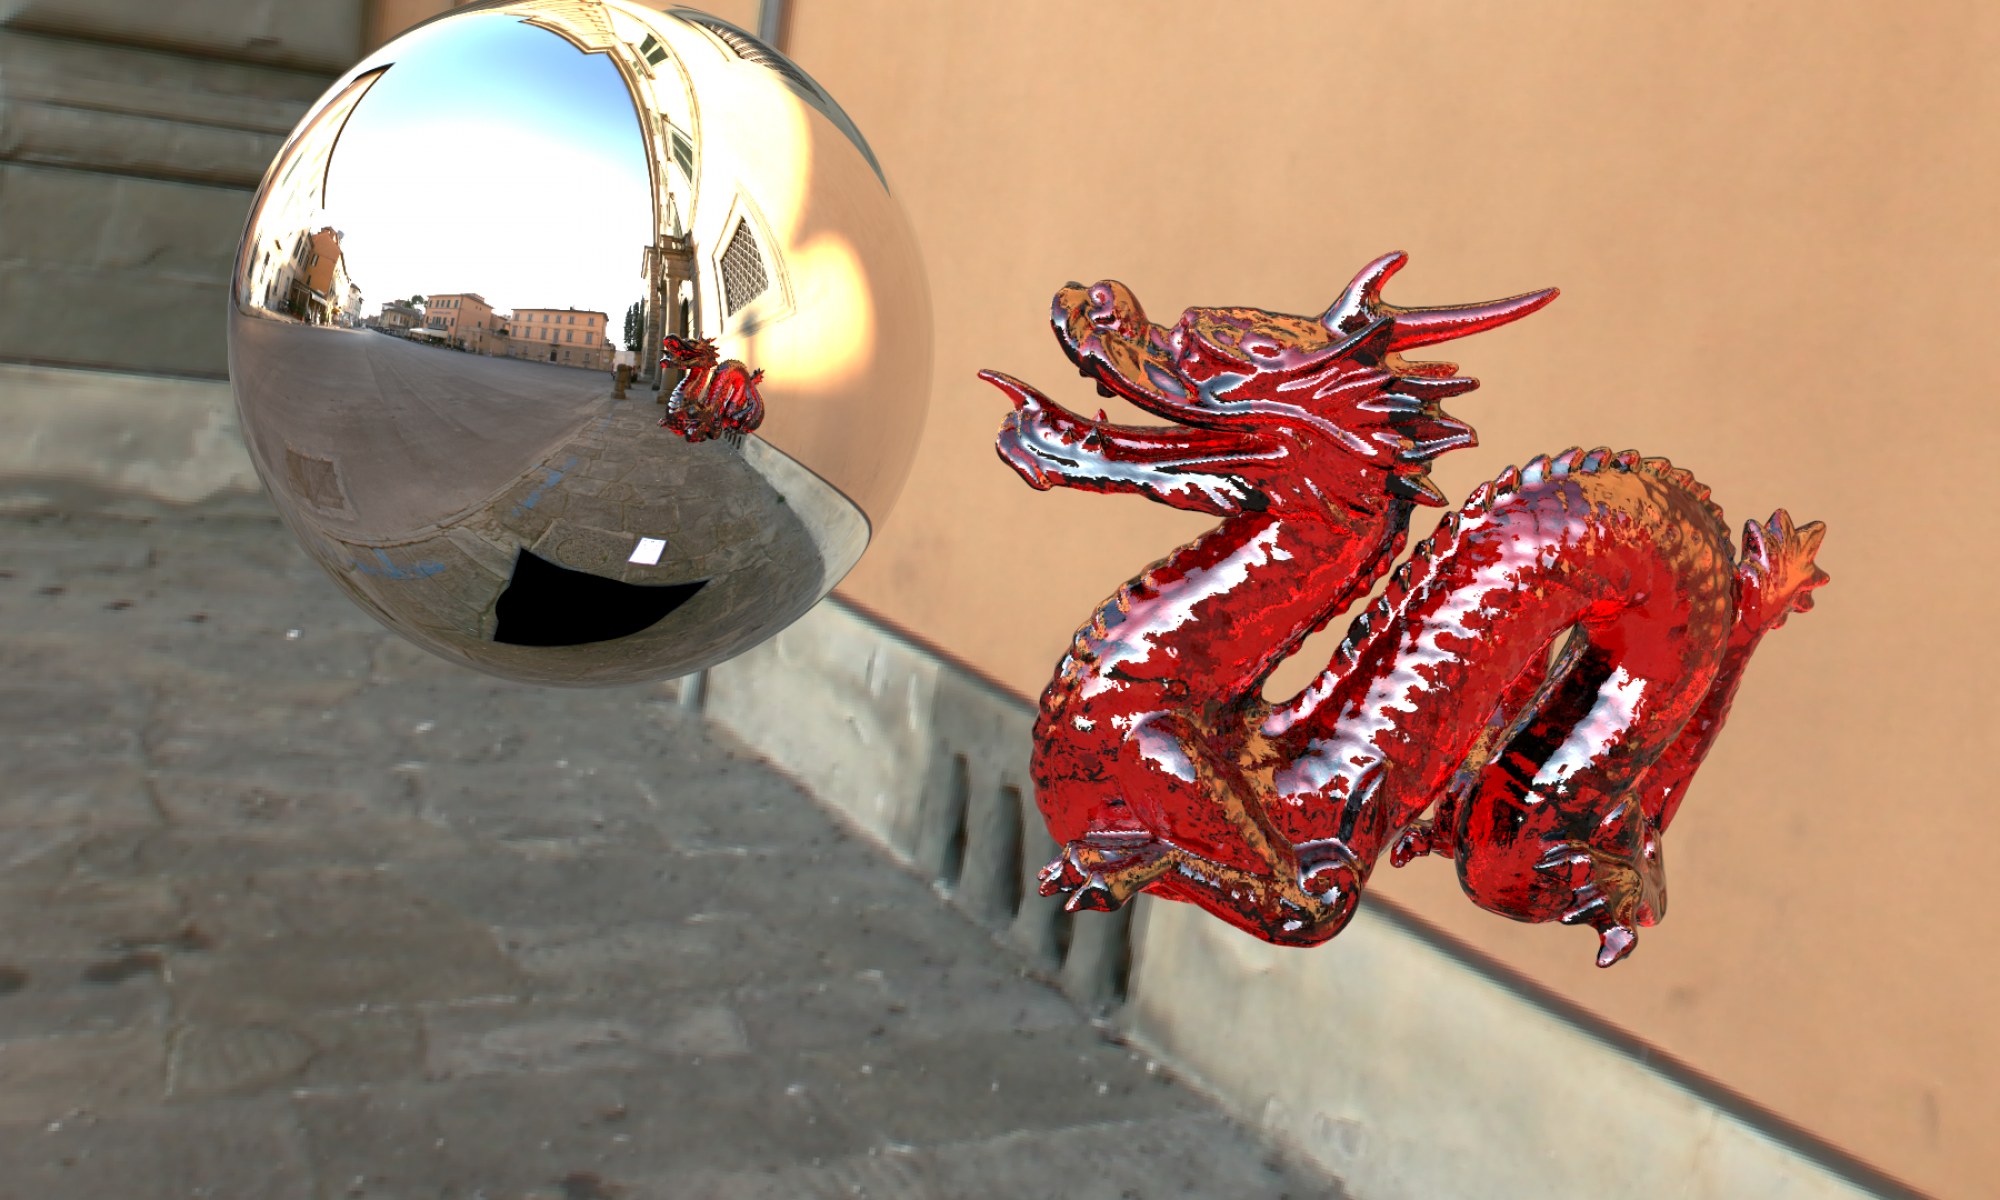
In this post, I will first give some information on indirect illumination in ray tracing and bidirectional path tracing algorithm, and then I will write about how I have implemented my term project, a naive version of the Bidirectional Path Tracing (BDPT) algorithm. Moreover, I will provide a comparison of my BDPT outputs with my ray tracer and path tracer outputs.
Bidirectional Path Tracing
A normal forward path tracer recursively evaluates the rendering equation using Monte Carlo integration. In order to reduce variance, forward path tracers usually evaluate direct and indirect lighting separately at each step; that is how my path tracer works. Practically this is implemented by evaluating the contribution at each bounce as the sum of a shadow ray and the continuation (recursion) ray.
Forward path tracers are slow to converge in situations where the scene is lit mostly by indirect lighting, since the shadow rays always target a light source. This issue can be solved by using bidirectional path tracing idea, where in addition to the camera ray path, we also trace a “light ray path” starting from a point on the light towards the objects in the scene, and then connecting these paths to get the final color contribution on the pixel. Below is a screenshot that demonstrates the process:
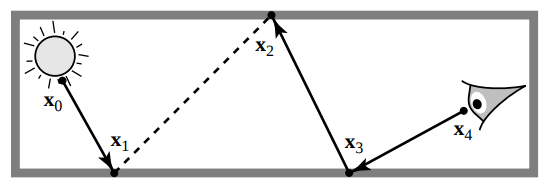
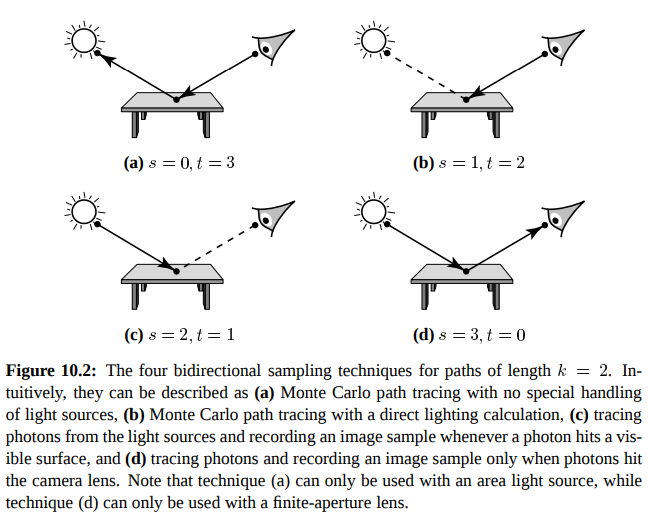
The points (x0, x1, x2, x3 and x4) on the image above are called the vertices. There are t many camera path vertices (x0 and x1), and s many light path vertices (x4, x3 and x2). BDPT algorithm creates different paths by connecting each of those t vertices with each of those s vertices, and then uses Multiple Importance Sampling (MIS) to weight those paths to finalize a color contribution that have the most benefit for the pixel under consideration. The image below, which is taken from Veach’s paper together with its caption, demonstrates the cases for different t and s values, when t + s is 3, and the final path length k is 2:
My BDPT Implementation
In my ray tracer, if the <IntegratorParams> tag in the scene file is given as Bidirectional, then my BDPT implementation, which I have implemented as follows, comes into the play.
First, I recursively trace a camera ray path until the max recursion depth is reached. At this point, the camera path with t vertices becomes ready. Then, I choose a point on the light, and start tracing a light ray from that point into the scene with s = 2; meaning that my implementation of light path tracing halts at the first hit of the light path by recording the hitInfo at that point. It can be surely said that this hit point receives direct light from the light source, as the ray starting from the light has been reached there without hitting any obstacle.
Next, we need to connect the camera path to the light path that have been recorded, so that the finalized path starts at camera, ends at the light, and so the current pixel that the path is connected to receives some light. A very important task to be done before connecting those subpaths is the visibility check between the last hit point of the camera path (say xc) and the last hit point of the light path (say xl). I implemented this check by sending a ray that is epsilon away from xc towards the normal direction, and whose direction is Vec3f(normalize(xl – xc)). If the ray does not hit any obstacle, then it can be safely said that these subpaths can be connected and the pixel can be enlightened; else, we do not consider this path, as no light can reach from xl to xc.
In my implementation, I create 1 final full path for each ray sent from the camera. At each vertex of this full path, starting from the light vertex, the color value is weighted by the pdf and sent back towards the vertex on the camera. I do not calculate different combinations of t and s and weight their contributions by using MIS. Instead, I use high MSAA number for each pixel (meaning that high number of full paths are created), which causes the resulting contributions of those full paths to be averaged as the final color of that pixel. This is the reason why I call my BDPT implementation as a naive one.
Scenes and Output Comparisons
For my term project, I have created 3 scene files. The details of those scenes are as follows:
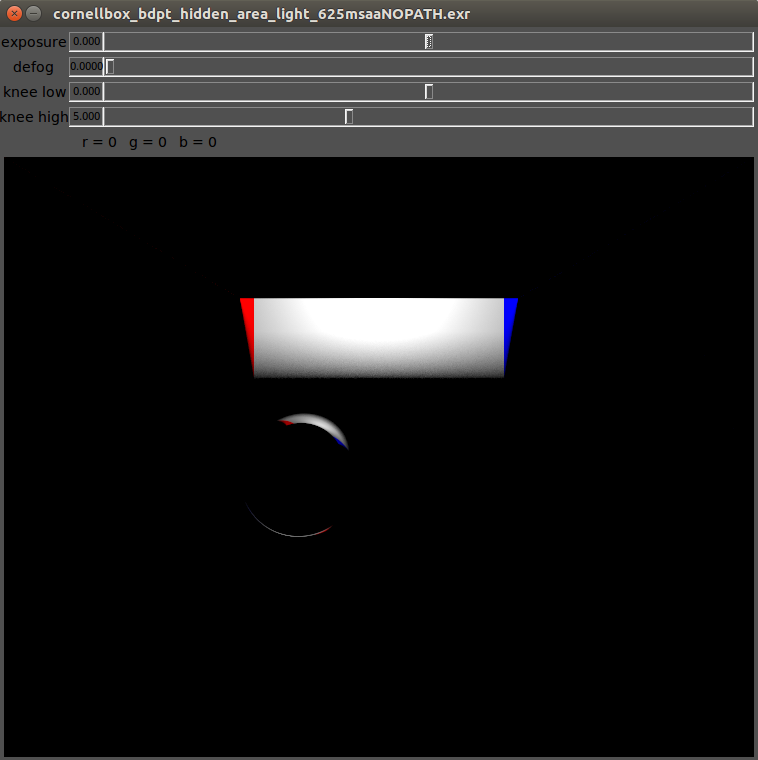
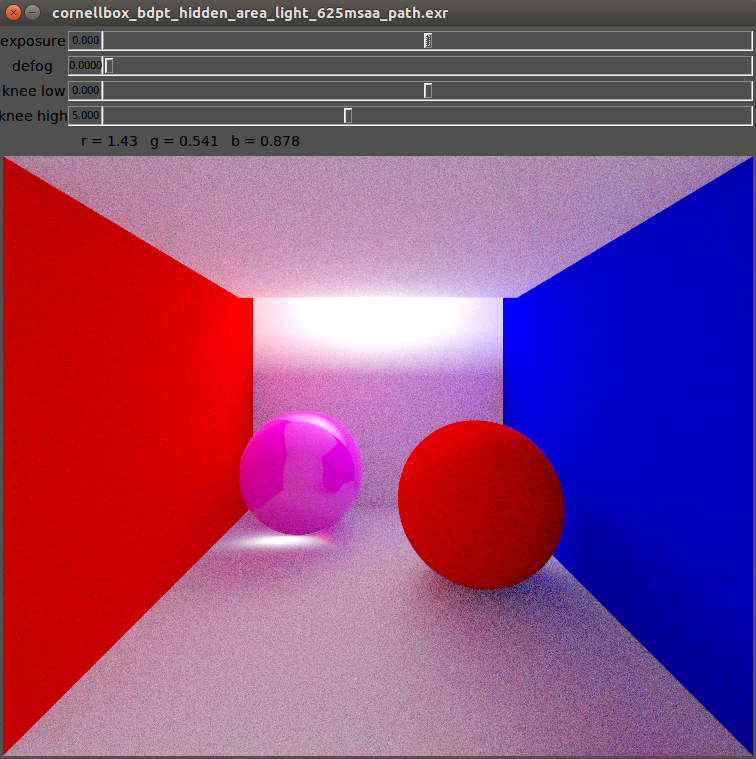
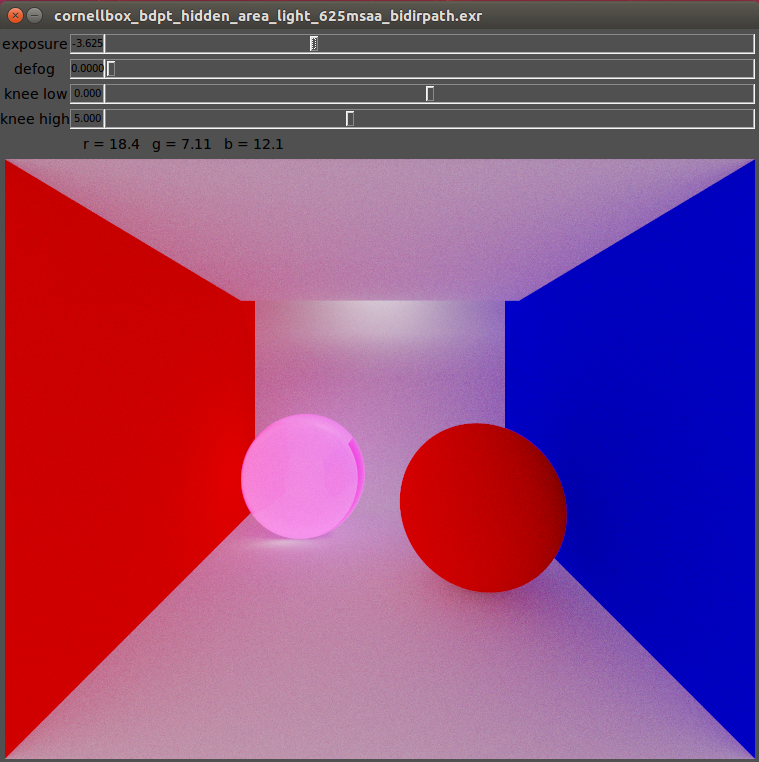
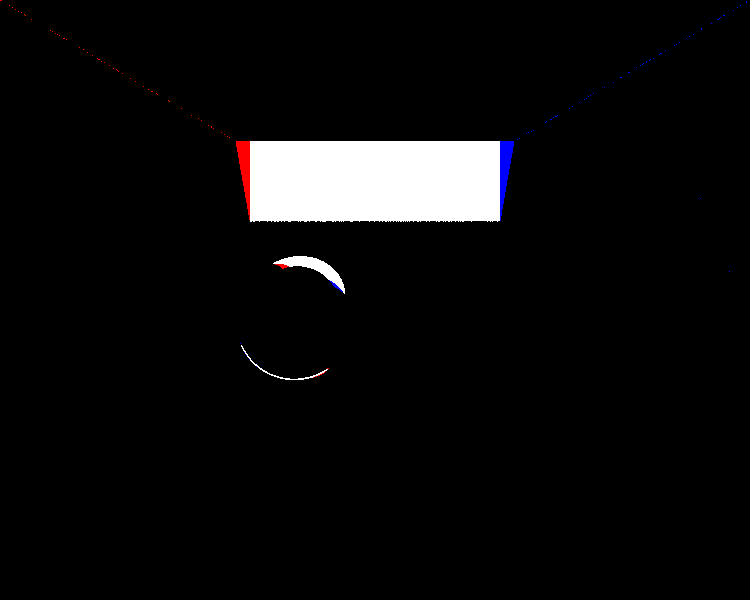
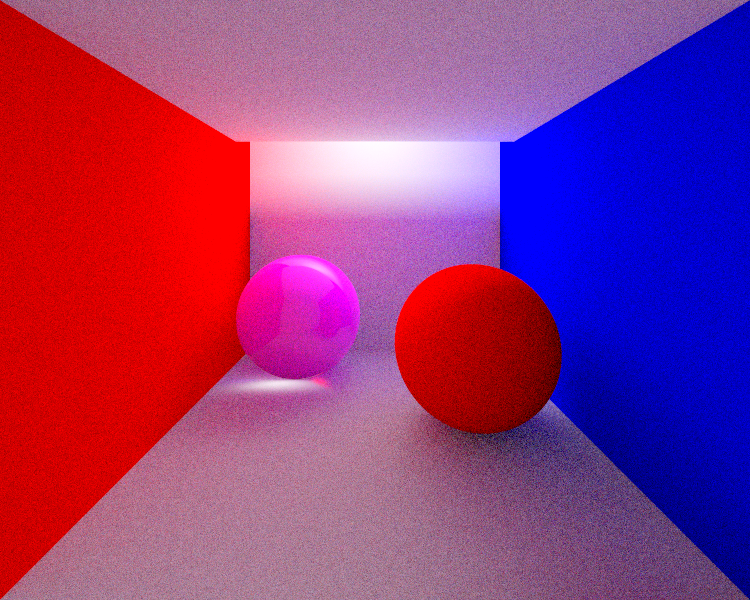
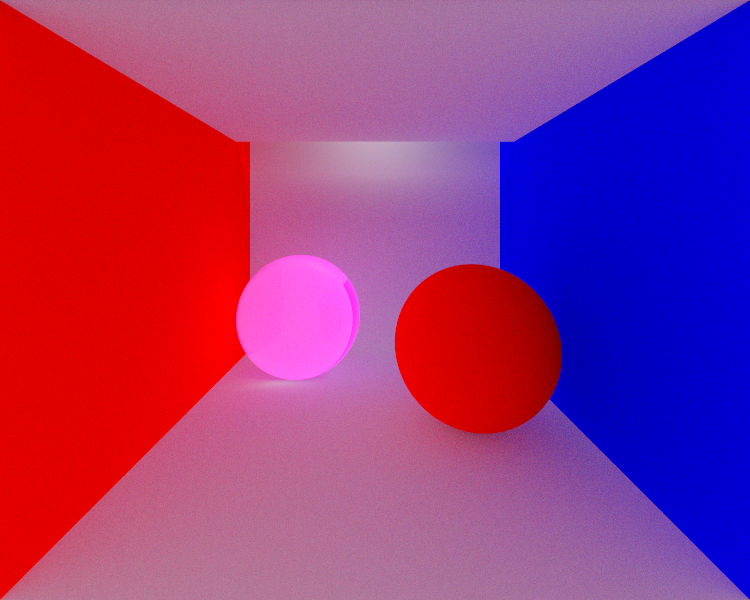
- cornellbox_bdpt_hidden_area_light.xml has a hole at the furthermost part of the ceiling. An area light is put above the ceiling which illuminates the room indirectly by illuminating only the back wall of the scene.
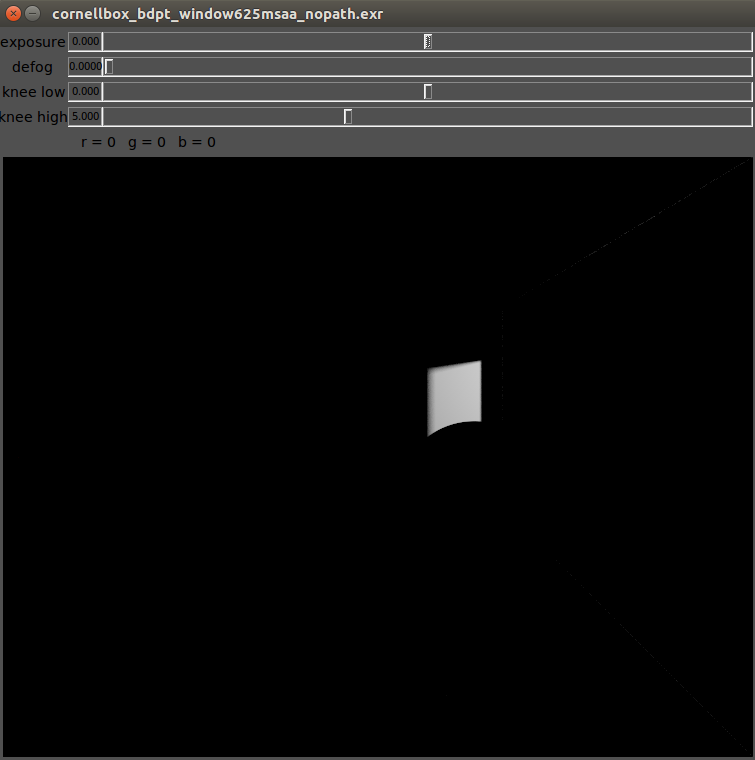
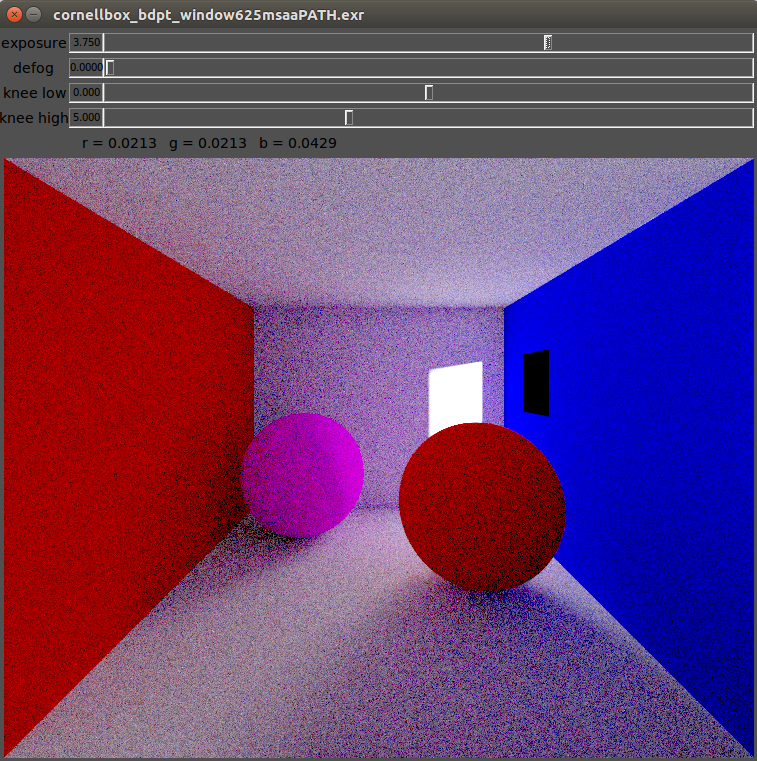
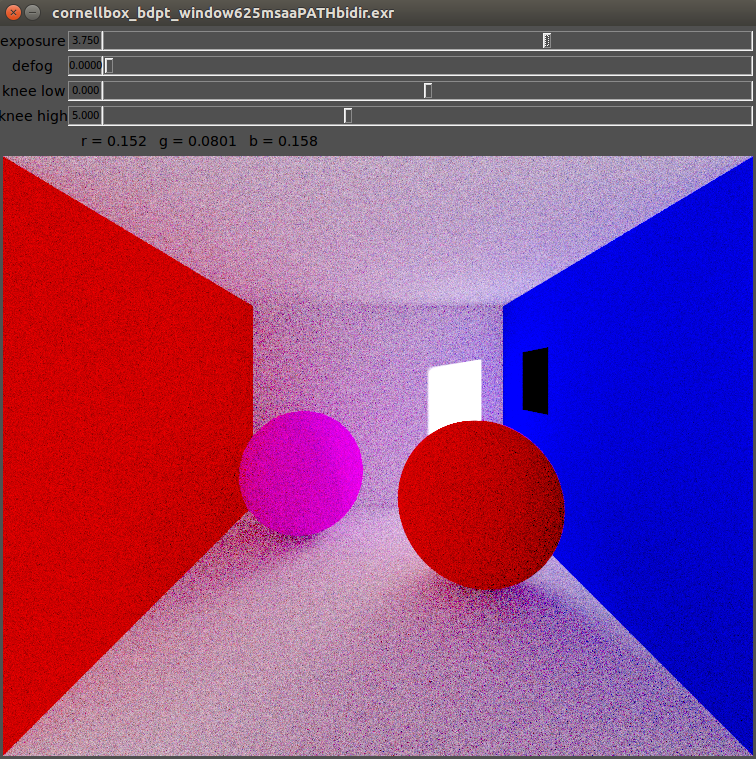
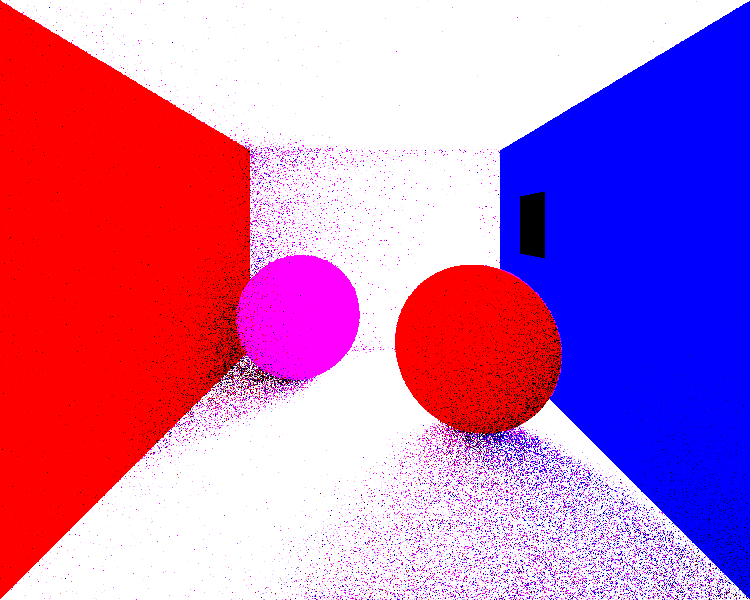
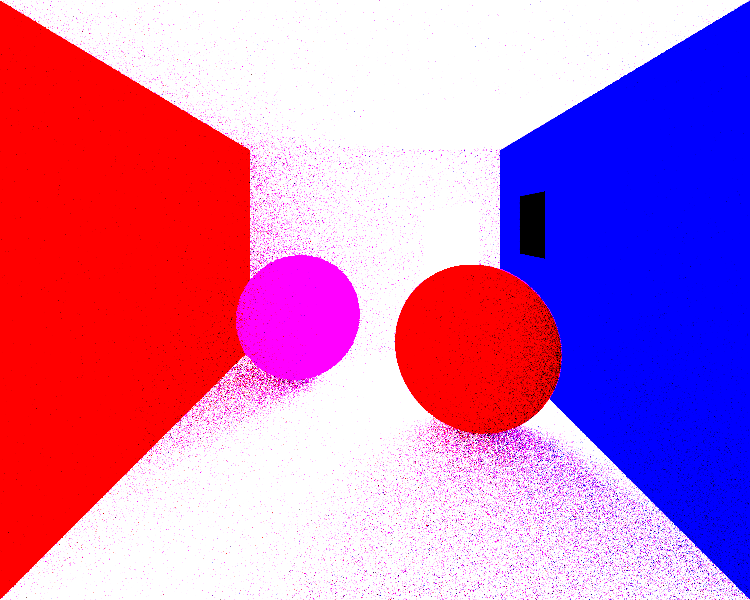
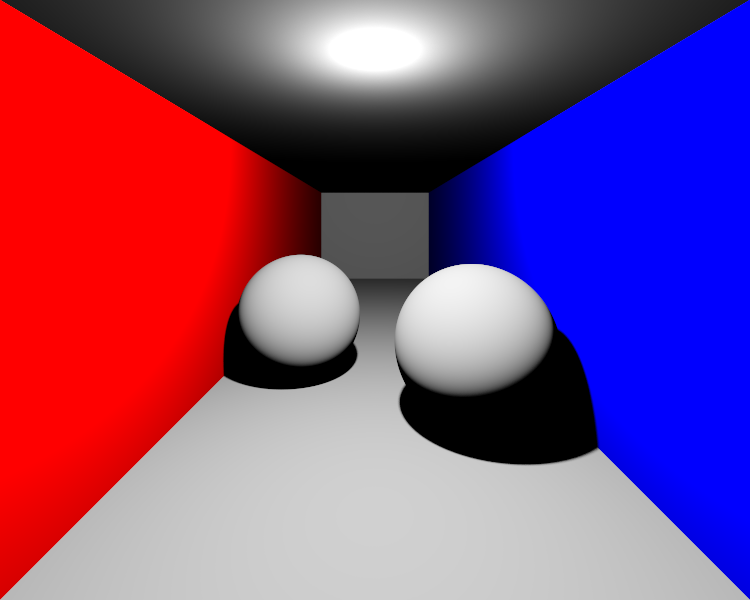
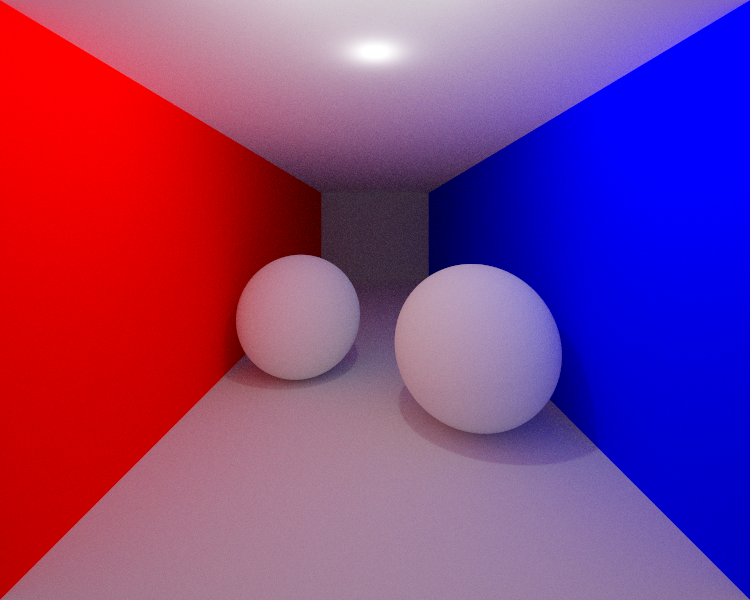
- cornellbox_bdpt_outside_area_light_window.xml scene has a little square hole (let’s call it a window) on the far side of the right wall, and an area light which illuminates the back wall from the window is put just behind the right wall. The other walls and objects in the room get illuminated indirectly from the illumination on the back wall.
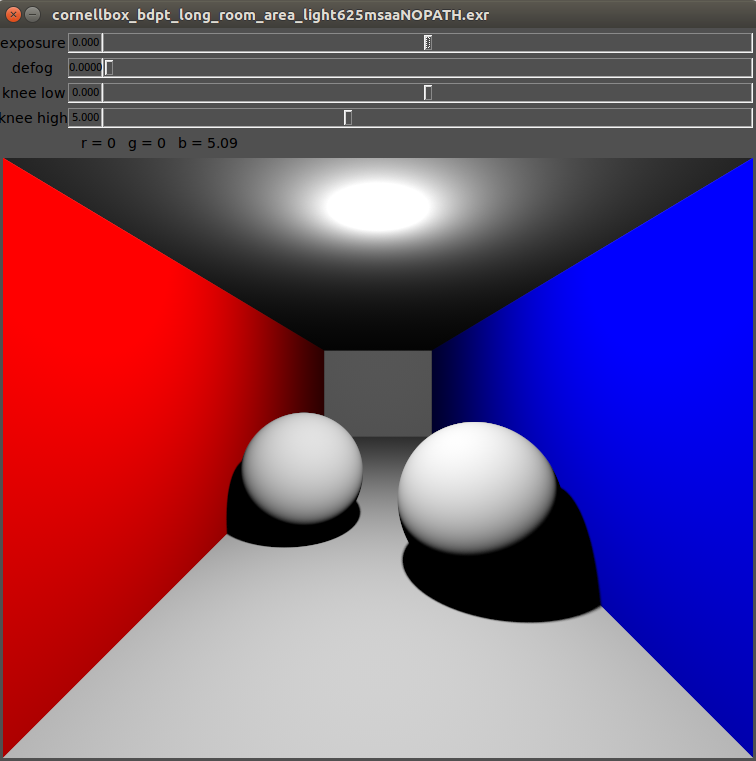
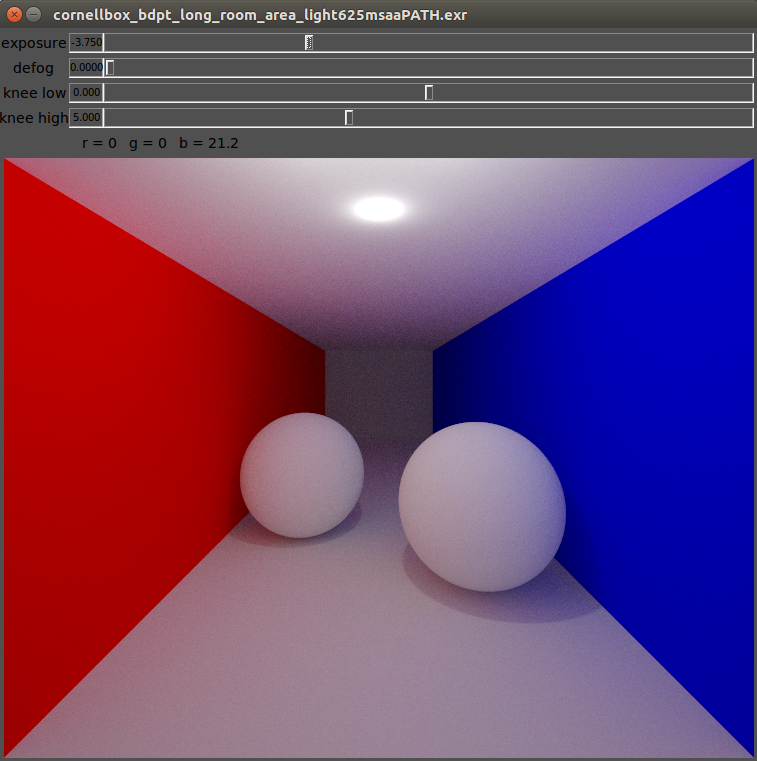
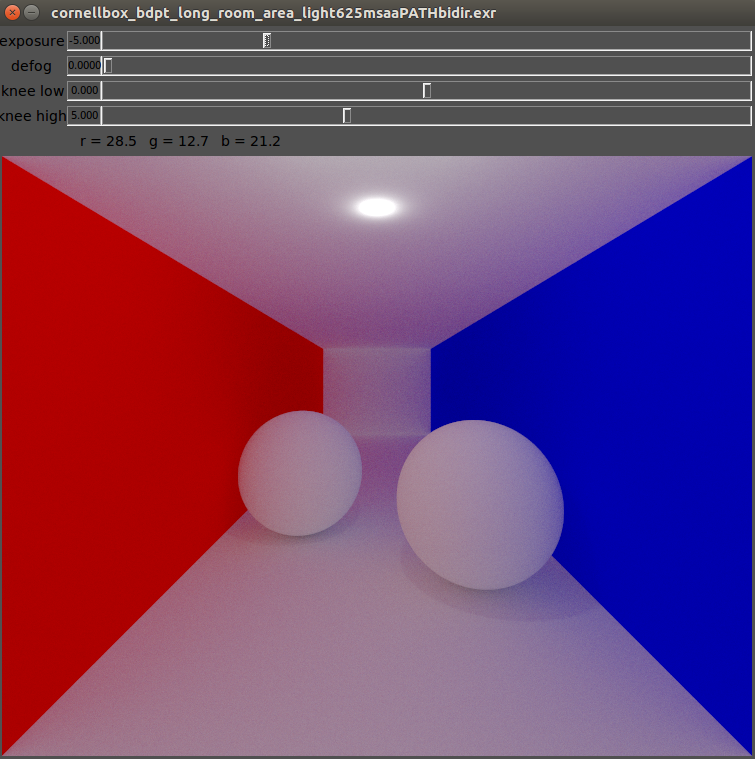
- cornellbox_bdpt_long_room_area_light.xml scene is very similar to the path tracing scene of the previous path tracing assignment, but this time the room is more deep and the area light on the ceiling is closer to the camera (so that the deeper side of the room could not get direct light, and becomes darker if BDPT is not used).
Below I provide my basic ray tracing (with no path tracing) outputs, path tracing outputs, and BDPT outputs all together to enable the reader to make comparisons between them. I put the screen shots of my outputs visualized by exrdisplay tool, as my tonemapping procedure is still buggy. At the end, I have put my tonemapped outputs, too. Also, my .exr files are available at the EXR Outputs section of this post. Please check the captions at the bottom of the images to get a detailed information.
Here are the original tonemapped versions of my outputs:


EXR Outputs
You can visualize my .exr outputs by following the links below (move the handles of the slider to right step by step, while “Gamma 2.0” option is selected):
- hidden_light_basic
- hidden_light_path
- hidden_light_bdpt
- long_room_basic
- long_room_path
- long_room_bdpt
- room_window_basic
- room_window_path
- room_window_bdpt
That’s the end of my term project post!
Hope to see you!
Happy tracing!